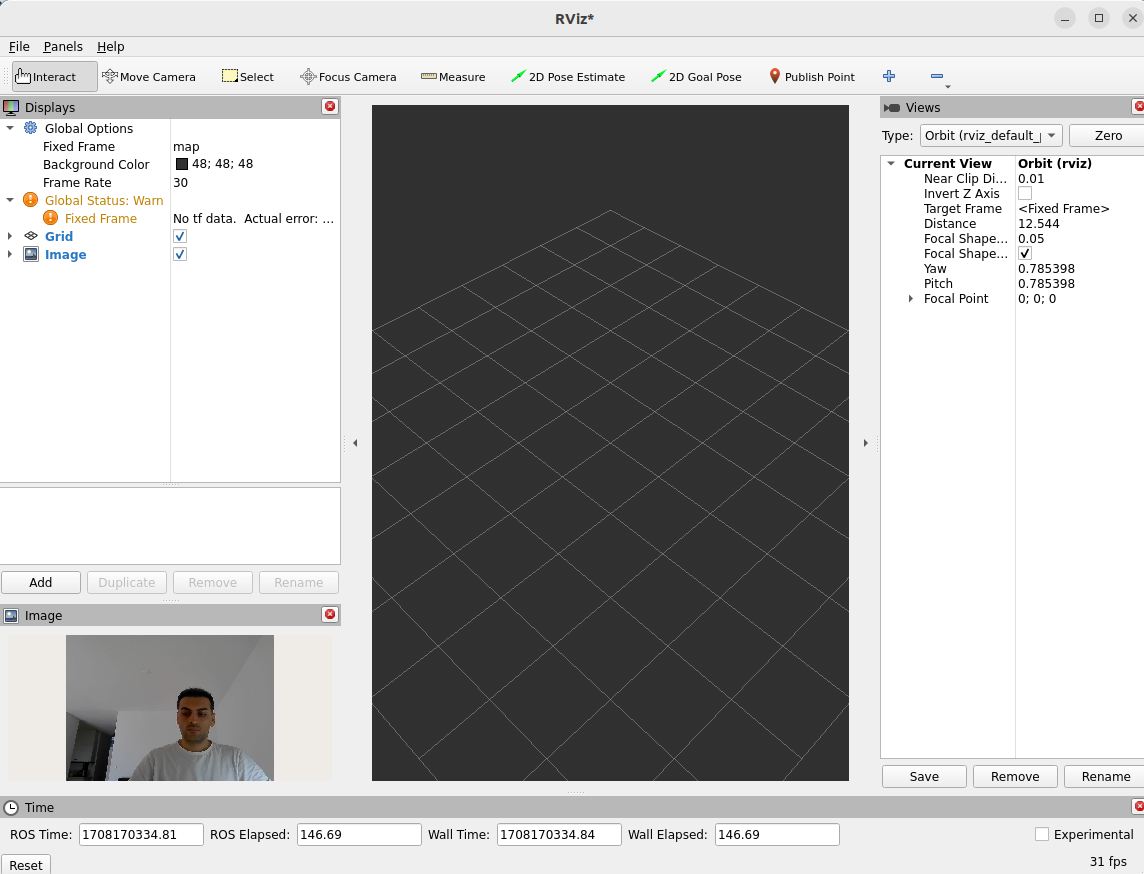
First, set the permissions:
|
1 |
xhost +local: |
Then create the container and give it a name, do not forget –privileged :
|
1 |
docker run -v /home/$USER/:/home/$USER/ -v /tmp/.X11-unix:/tmp/.X11-unix --name ros2 -e DISPLAY=$DISPLAY -e QT_X11_NO_MITSHM=1 --network=host --privileged -it ros:humble-perception-jammy bash |
If you have already created that container, just start it
|
1 |
docker start -i ros2 |
or you can create a temporary container to get deleted after exit:
|
1 |
docker run -v /home/$USER/:/home/$USER/ -v /tmp/.X11-unix:/tmp/.X11-unix -e DISPLAY=$DISPLAY -e QT_X11_NO_MITSHM=1 --network=host --privileged --rm -it ros:humble-perception-jammy bash |
Install camera packages:
|
1 2 3 4 |
source "/opt/ros/$ROS_DISTRO/setup.bash" echo ${ROS_DISTRO} apt update apt-get install ros-${ROS_DISTRO}-v4l2-camera |
Now stream the camera from the container:
|
1 |
ros2 run v4l2_camera v4l2_camera_node --ros-args -p device_id:=/dev/video0 |
Find the running container:
|
1 |
docker container ps -a |
Attach to it:
|
1 |
docker exec -it <continer-id> bash |
Bring the Rviz to the host:
|
1 2 3 4 5 6 |
source "/opt/ros/$ROS_DISTRO/setup.bash" apt install ros-desktop-full apt install ros-$ROS_DISTRO-rviz2 # Important, source it again source "/opt/ros/$ROS_DISTRO/setup.bash" rviz2 |
