Diff
Before following this post, make sure you have already set up everything from my other post regarding the configuration of the git environment.
Diff command will allow you to compare two different commits, let’s set up a repository:
|
1 2 3 4 5 6 7 8 9 10 11 12 13 |
mkdir repos1 mkdir repos2 mkdir remote_repose cd repos1 git init git init --bare ../remote_repose/ git remote add origin ../remote_repose/ touch A.txt git add -A git commit -a -m 'A Added' git push --set-upstream origin master |
Now in the second repository, we make some changes:
|
1 2 3 4 5 6 7 |
cd ../repos2/ git clone ../remote_repose/ . touch B.txt date > A.txt git add -A git commit -m 'some changes' git push |
now let’s back to the first repository and see the changes:
|
1 2 3 |
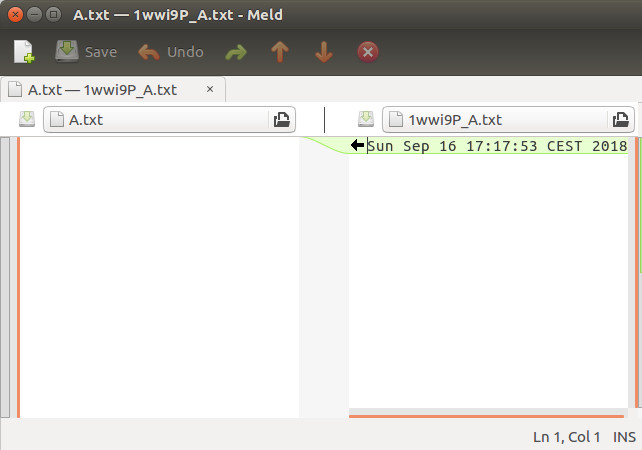
cd ../repos1/ git fetch git difftool master origin/master |
now you should see all the differences in meld:
To find diff between current and previous commit:
|
1 |
git difftool HEAD^ HEAD |
As of Git 1.8.5, @ is an alias for HEAD, so you can use:
|
1 |
git difftool @~..@ |
If you want to know the diff between head and any commit you can use:
|
1 |
git difftool commit_id HEAD |
You can add -t to select your difftool such kdiff3, meld, etc.
To see the diff with gitk, first, go to Edit>Preference and set the external difftool.
Now click on your revision, then right-click on the revision that you want to compare to and click on Diff this-> selected. Now on the bottom window right click on any of the changed files and select External diff

Compare the local repo with its remote branch
to see what the push will do to your local repo.
|
1 |
git diff <local branch> <remote>/<remote branch> |
Git diff Two-dot (A..B) and Three-dot (A…B) comparison
You can compare two commits with two dots, This will show all differences, including C, D, F0, F1
|
1 |
git difftool master..feature |
But this will show you only F0 and F1
|
1 |
git difftool master...feature |
and this will show you only C and D
|
1 |
git difftool feature...master |
The following images show the differences:

|
1 |
git diff [--options] <old_commit> <new_commit> |
|
1 |
git diff <x> <x+∆x> |
Merge and conflict
Now let’s merge all the changes. If you make some changes on different files, you will do fast-forward. That means you only incorporate new changes and everything is OK afterward. But if you made some changes on the same file along the same lines, then you have a merge conflict, and you should do a three-way merge.
To show you the point, let’s make some changes in the first repository in the file A.txt.
|
1 2 3 4 |
cd ../repos1/ date >>A.txt ls -hal > A.txt git pull |
now if you call git merge, you will get a merge conflict, to solve this call the following:
|
1 |
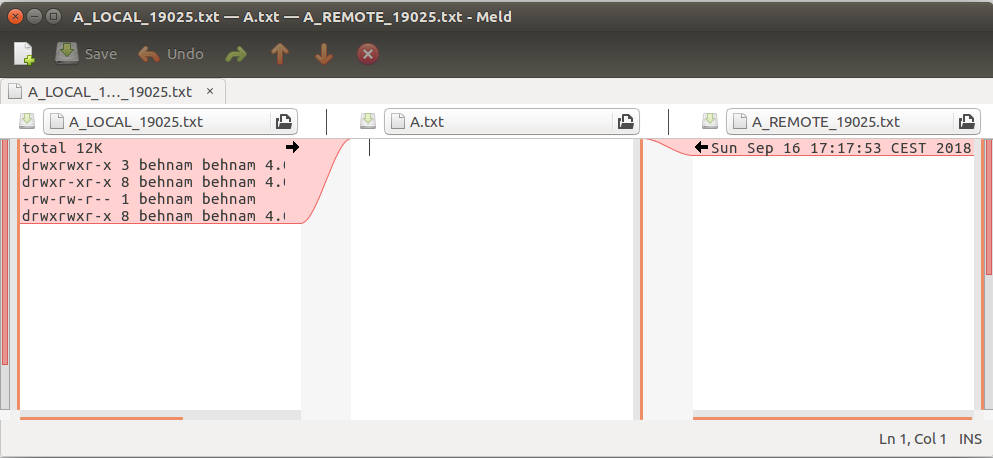
git mergetool |
and you will get this in meld:
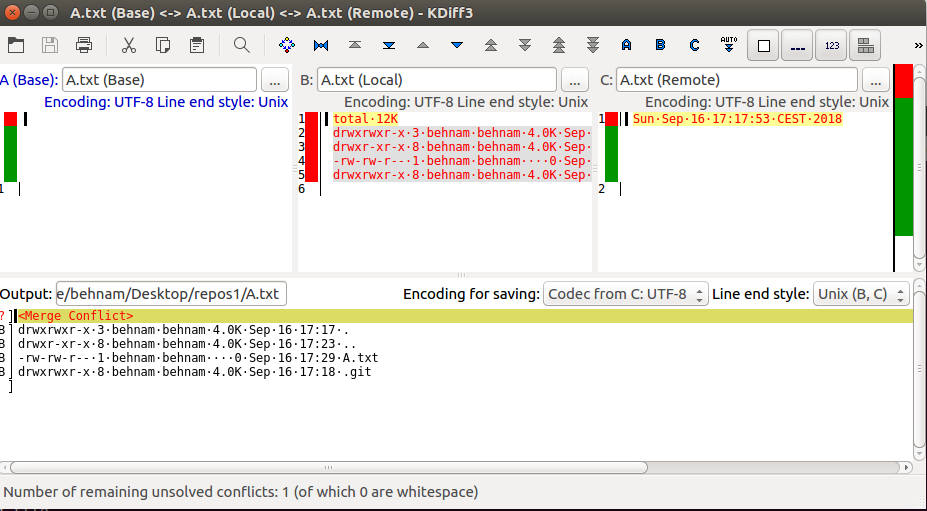
and this in kdiff:
+————————————–+
| LOCAL | BASE | REMOTE |
+————————————–+
| MERGED |
+————————————–+
LOCAL: Your side of the conflict – i.e., your branch (HEAD) that will contain the results of the merge
REMOTE: The remote side of the conflict – the branch you are merging into HEAD.
BASE: The common ancestor of both local and remote. Useful for feeding into a three-way merge tool
MERGED: The result of the automatic merge.
Go through the conflict and choose the side (A, B, or C) and see the merged file in the window below and save and close.
Use the command line and interpret the output of git diff
diff uses Levenshtein distance and tries to determine the smallest set of deletions and insertions. The output is called a “diff”, or a patch since the output can be applied with the Unix program patch
The POSIX standard specifies the behavior of the “diff” and “patch” utilities and their file formats. You can call the following to see the difference between any two files or directories:
|
1 |
diff original new |
For instance in our case:
|
1 |
diff -u repos1 repos2 |
-u indicate unified format
|
1 2 3 4 5 6 7 |
diff -u repos1/A.txt repos2/A.txt --- repos1/A.txt 2020-11-25 18:39:45.139922355 +0100 +++ repos2/A.txt 2020-11-25 18:39:45.187924374 +0100 @@ -0,0 +1 @@ +Mi 25. Nov 18:39:45 CET 2020 Only in repos2/: B.txt Common subdirectories: repos1/.git and repos2/.git |
Git also uses a unified format. If you call
|
1 |
git diff master origin/master |
You will get the following:
|
1 2 3 4 5 6 7 8 9 |
diff --git a/A.txt b/A.txt index e69de29..284ff43 100644 --- a/A.txt +++ b/A.txt @@ -0,0 +1 @@ +Mi 25. Nov 18:39:45 CET 2020 diff --git a/B.txt b/B.txt new file mode 100644 index 0000000..e69de29 |
Let’s interpret the output:
1) The first line diff --git a/A.txt b/A.txt is a “git diff” header in the form diff –git a/file1 b/file2. The a/ and b/ filenames are the same unless rename/copy is involved. The –git is to mean that diff is in the “git” diff format.
2) In the last line in the extended diff header is:
|
1 |
index e69de29..284ff43 100644 |
100644 is the mode of the given file which means that it is an ordinary file and not e.g. symlink and that it doesn’t have executable permission bit, and about the shortened hash of preimage (the version of the file before the given change) and post image (the version of the file after change).
3) Next is a two-line unified diff header
|
1 2 |
--- a/A.txt +++ b/A.txt |
The original file is preceded by “—” and the new file is preceded by “+++“.
4) Following this are one or more change hunks that contain the line differences in the file. Unified format hunks start with a line like:
|
1 |
@@ -from-file<start line>,<number of lines> +to-file<start line>,<number of lines> @@ |
5) Next comes the description of where files differ. The lines common to both files begin with a space character. The lines that actually differ between the two files have one of the following indicator characters in the left print column:
- ‘+’ — A line was added here to the first file.
- ‘-‘ — A line was removed here from the first file.
Compare two different commits on the same branch in GitHub
if you click on the last commit, you can get the list of all commits,
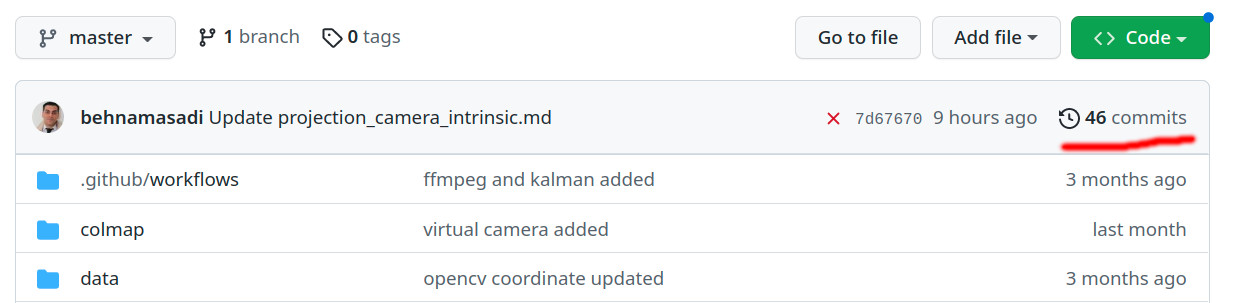
Click on the copy button of the commits that you want to compare,

Now Just add the word compare to the end of the repository URL, i.e.
|
1 |
https://github.com/behnamasadi/OpenCVProjects/compare |
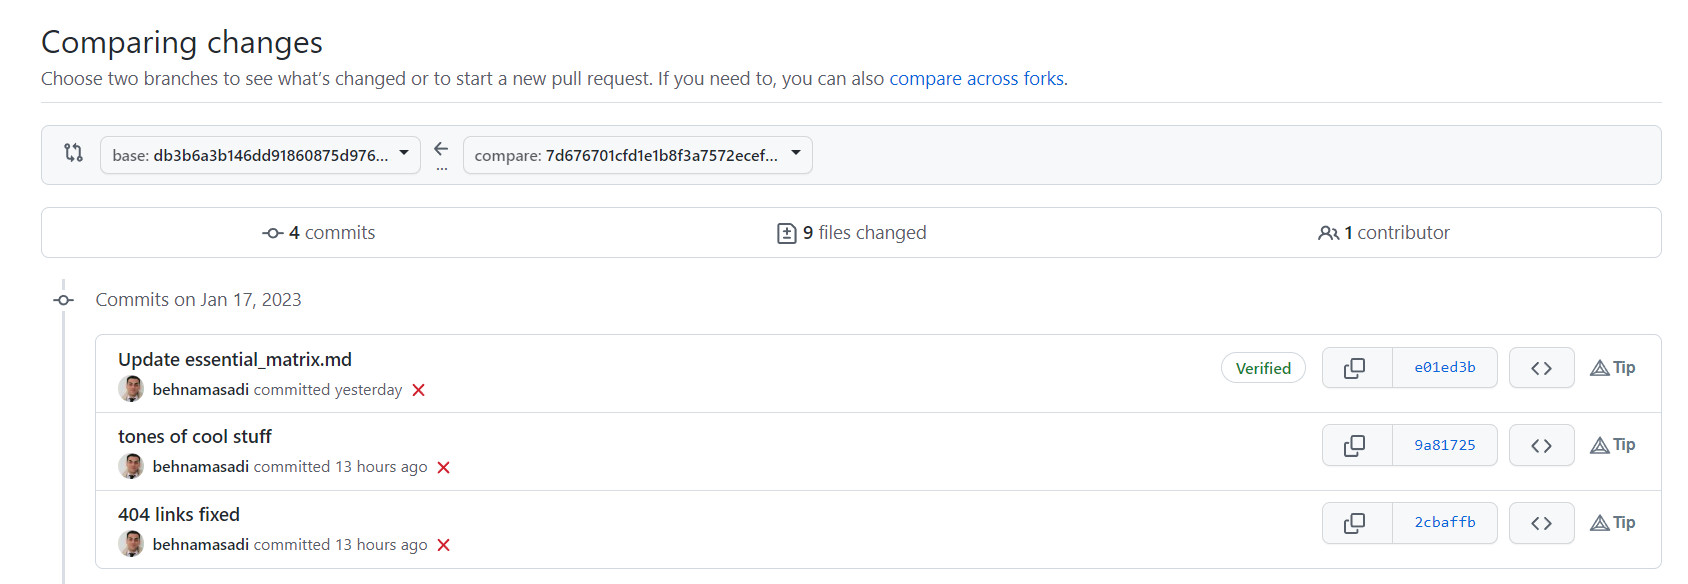
basically, the end result should be the following URL:
|
1 |
github.com/<username>/<repo_name>/compare/<commit1>...<commit2> |
You can use two-dots or three-dots for comparison.
git blame
The git blame command is used to know who/which commit is responsible for the latest changes made to a file. The author/commit of each line can also been seen. git blame does not show the per-line modifications history in the chronological sense. It only shows who was the last person to have changed a line in a document up to the last commit in HEAD.
Line between 2 and 4:
|
1 |
git blame -L 2,4 index.txt |
2 lines after 2:
|
1 |
git blame -L 2,+2 index.txt |
Make the output shorter:
|
1 |
git blame -s -L 2,+2 index.txt |
Only display email of the auther:
|
1 |
git blame -e -L 2,+2 index.txt |
get the blame for a specifi commit:
|
1 2 |
git blame 9c94fe72ae72680c844ac49443b6617bc26e7b07 -- index.txt git blame HEAD -- index.txt |
When the commit ID is 00000000000 it means I have changed that line locally.
git blame does not show the per-line modifications history in the chronological sense. It only shows who was the last person to have changed a line in a document up to the last commit in HEAD.
In order to see the full history/log of a document line, you would need to run a git blame path/to/file for each commit in your git log. Since Git 1.8.4, you can use git log has -L to view the evolution of a range of lines.
|
1 2 |
git log -L 2,4:index.txt git log -L <upperLimit >,<lowerLimit>:<path_to_filename> |
View a single file’s history in GitK
|
1 2 |
gitk <filename> git gui blame <filename> |
or
|
1 |
git log <filename> |
Compare a single file with its previous version
|
1 2 |
git log <filename> git difftool <HASH1> <HASH2> <filename> |